
A step-by-step seasonal guide to help aquarists stabilize parameters, reduce organics, and enjoy a cleaner, healthier aquarium in Spring after Winter neglects.
10 Spring Aquarium Cleaning Tips for a Fresh Start
Did you know that a seasonal aquarium reset will improve your pet’s health and reduce the risk of diseases? As the weather changes every season, you’d have to adjust your healthy aquarium routine to keep the tank in optimal condition.
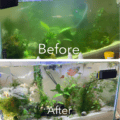
During winter, most tanks face neglect, and that’s why special spring aquarium cleaning is the deep reset you need for the new season.
When you tick this step-by-step fish tank spring checklist, you’d be able to stabilize parameters, reduce organics, and enjoy a cleaner, healthier tank after winter frost.
To best provide this care, you must first understand why spring cleaning matters.
Tip One – Why Spring Cleaning Matters for Aquariums
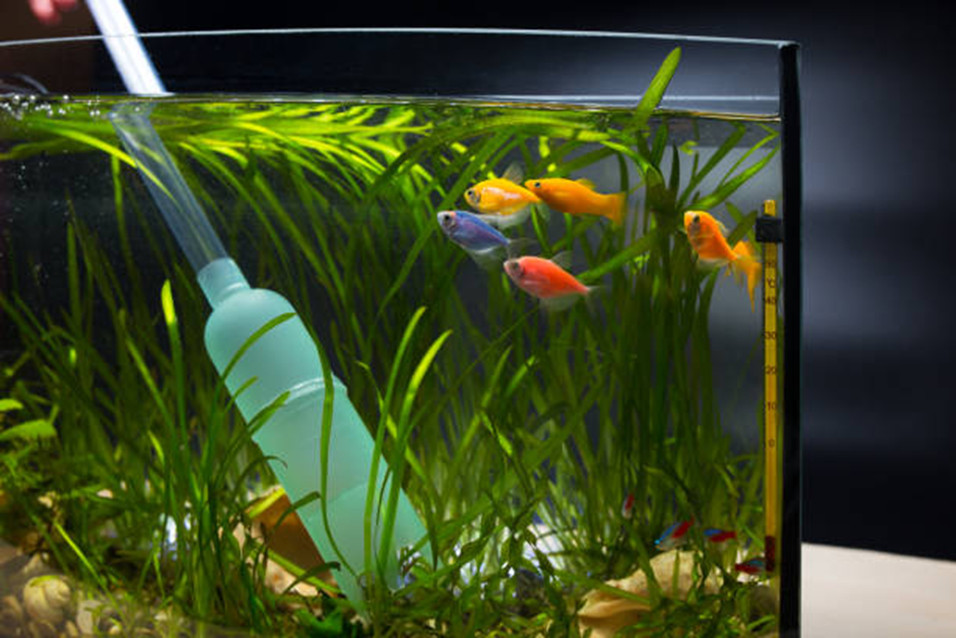
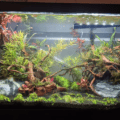
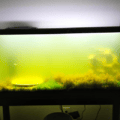
Spring aquarium cleaning prepares the tank for the year ahead, especially after a frosty winter of unstable parameters, excess organic production, and dwindling aquascapes.
Here’s what you benefit from a targeted spring tank maintenance:
Stabilize Parameter
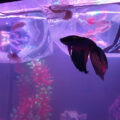
Aquatic pets living outside their natural habitat need simulated environments to give them normalcy. So, maintaining stable water parameters in spring improves your fish’s vitality.
Reduce Organics
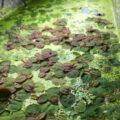
Seasonal fish tank care breaks persistent algae cycles and decomposes organic waste that can become harmful to your pets.
Restore Aquascape
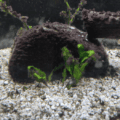
With an aquarium deep-clean protocol, you can reach the corners and crevices of your aquascape so that no spot retains dirt. You’d easily spot disintegrating and displaced decor and fix them.
It’s time to keep your aquarium refreshing with step-by-step care practices.
Tip Two – Inspect Equipment & Replace Consumables
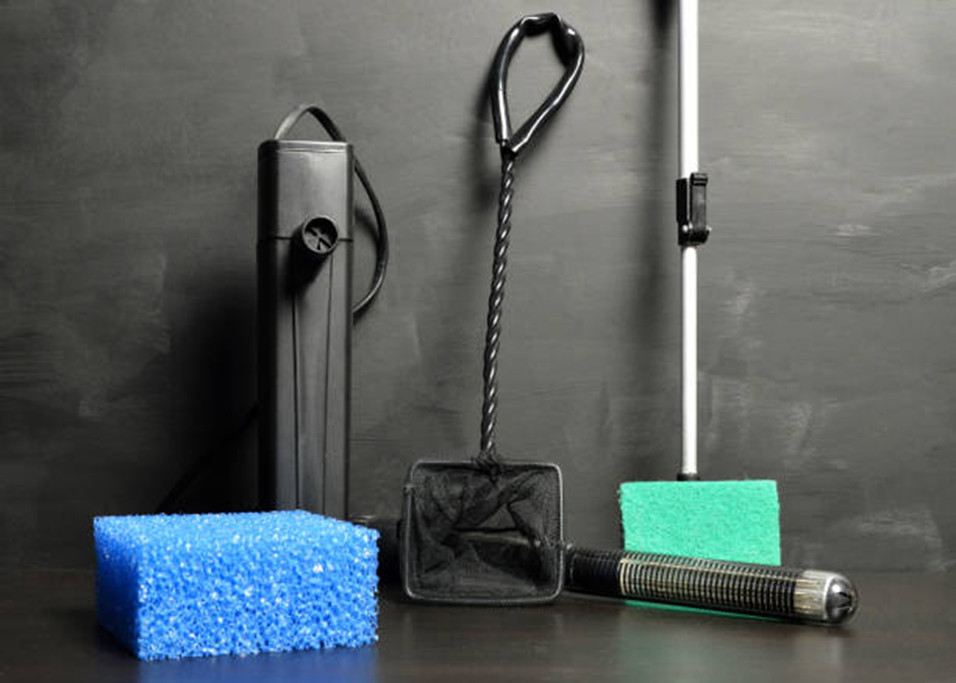
Before inspection, unplug your aquarium from the power source to prevent shocks. Step one is for inspection and replacement, starting with a classic aquarium equipment check. To know what to check, you must first know the essential equipment in your tank. Use this spring aquarium checklist to know what requires inspection and replacement.
- Heaters
- Thermometers
- Tubing
- Impellers
- Seals
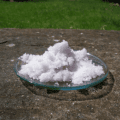
- Filter media
- Carbon
- Polishing pads.
Inspect
Check the tubing, impellers, and seals in your tank for leaks or displacement and immediately fix them.
Ensure your heater calibration is accurate by testing the water temperature with a second thermometer.
Replace
Worn filter media replacement is necessary for optimal water filtration, which consequently keeps the tank pristine. Meanwhile, you shouldn’t wait until your carbon filter wears out before changing it. Instead, replace carbon every 3-4 weeks.
Tip Three – Pre-Clean Water Testing & Target Setting
Once your hardware is set up, the next step is aquarium water testing and target setting.
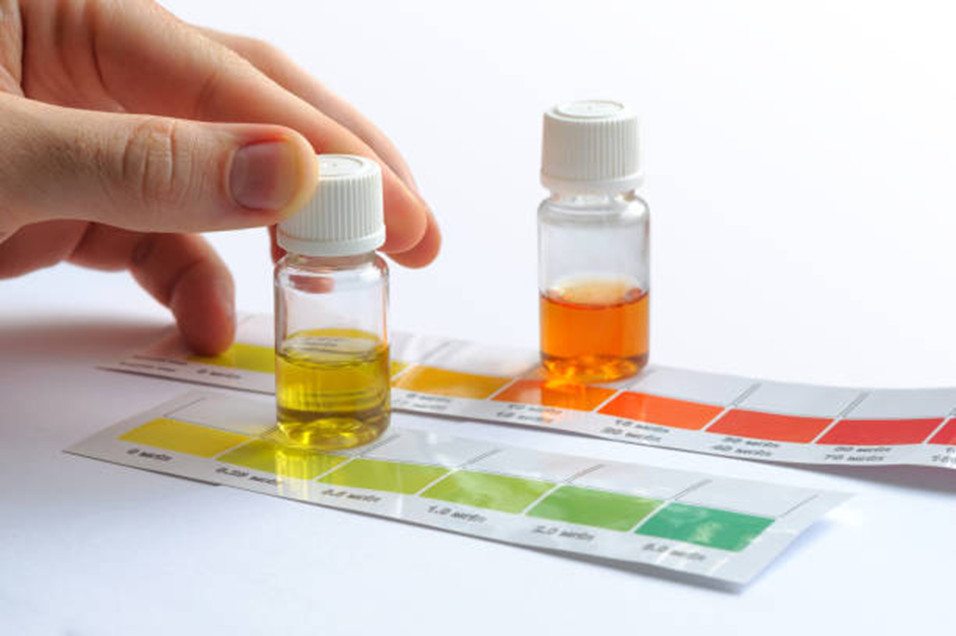
Pre-Clean Water Testing
Pre-clean water testing is for sampling water before primary testing to ensure environmental safety and quality for your fish. But before cleaning and correcting the water levels, document baselines to avoid over-corrections.
Target Setting
You need to test pH levels, KH/GH levels, ammonia, nitrite, nitrate, and phosphate to ensure appropriate spring water parameters. Set realistic targets for your bioload and plant mass based on the needs of the fish inhabiting the aquarium.
pH Levels
Depending on your fish’s natural habitat, there are two standard pH levels for saltwater and freshwater fish.
| Saltwater | 8.1 – 8.4 |
| Freshwater (Tropics) | 6.5 – 7.5 |
Lower pH values are acidic, while higher values are alkaline, and seven is neutral.
When there’s an imbalance, adjust the levels using limestone and crushed coral to increase alkalinity or moss and driftwood to increase acidity.

Hardness
Measure the mineral content in the water for general hardness (GH) and carbonate hardness (KH). In freshwater tanks, the average levels should be 4-8KH and 4-12GH, while saltwater tanks need 8-12KH.
Phosphate
Phosphate control helps in managing algae growth and nutrients for other plant and coral growth.
If you have a planted tank, the phosphate level should be high between 0.15-1ppm to cater to the living plants in the tank. For a non-planted or reef tank, reduce the phosphate level to 0.02-0.05ppm.
Ammonia, Nitrite, and Nitrate
Ideally, ammonia and nitrite levels should always be at 0ppm while nitrate levels should be low. Where the nitrate level is high, you can make a nitrate reduction plan with aquatic plants that absorb it as fertilizer, a specialized filter, and frequent water changes.
Tip Four – Smart Water Change Strategy (Without Shocks)
Follow a smart spring water change schedule so that your goal of creating a clean and quality environment doesn’t become counterproductive.
For safe water change, these are the steps to follow:
- Unplug your aquarium before any activity to avoid osmotic shock.
- Space changes between 2-3 days to prevent osmotic stress.
- Use temperature-matched, dechlorinated water to prevent fish stress.
To make dechlorinated water for your aquarium, you must treat your tap water using a water conditioner for medium to large tanks or the boiling method for small and nano tanks.
Add a drainage system to the tank for easy water changes, and do it in moderation. Remove only 25-50% of the water at a time to minimize stress.
Author’s Note: Check out our post Why Do Fish Die or Get Stressed After a Water Change for a detailed guide on how you can safely change your tank’s water!
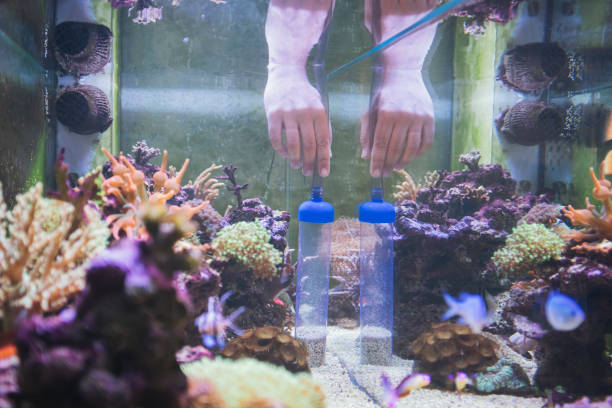
Tip Five – Deep Substrate Clean (Gravel/Soil/Sand)
Substrates are the materials covering the aquarium floor. They can be tiny like fine sand, clay-like soil, or coarse like coconut husks, pebbles, and gravel.
Whatever kind you have, these deep substrate cleaning tips will keep your tank pristine, whether it’s from food leftovers or aquascape shavings.
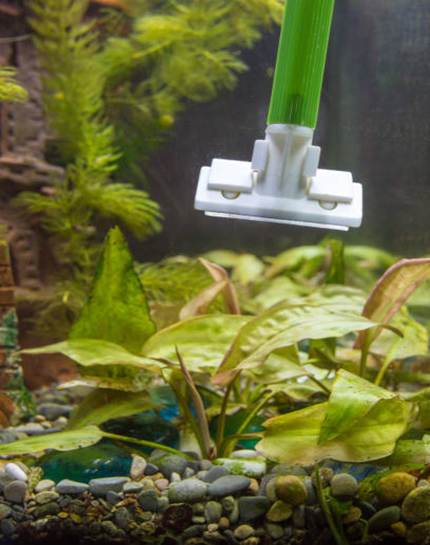
Vacuum
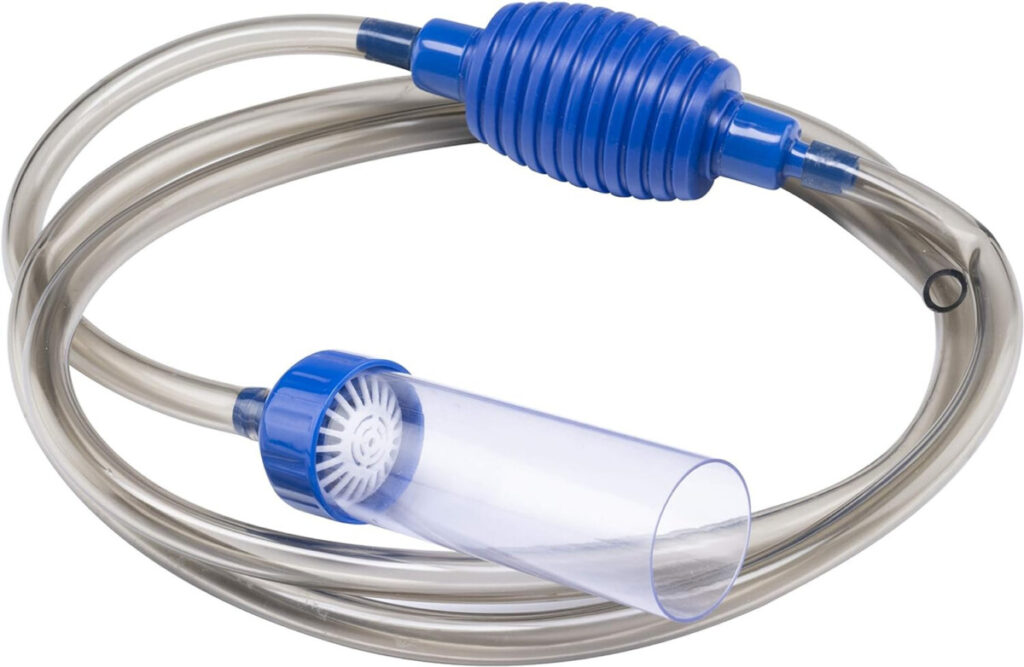
Found On Amazon
Vacuum your substrate to remove detritus, accumulated waste, and debris. Use a siphon feature for gravel vacuuming to get deeper under the stones and flip it underwater before lifting mulm out of the tank.
Turkey Baster and Airline Tube
You can also lift mulm from dead zones using a turkey baster or airline tube in small tanks. It allows precise handling that doesn’t disturb water flow or move the substrate.
Flattening Anaerobic Pockets
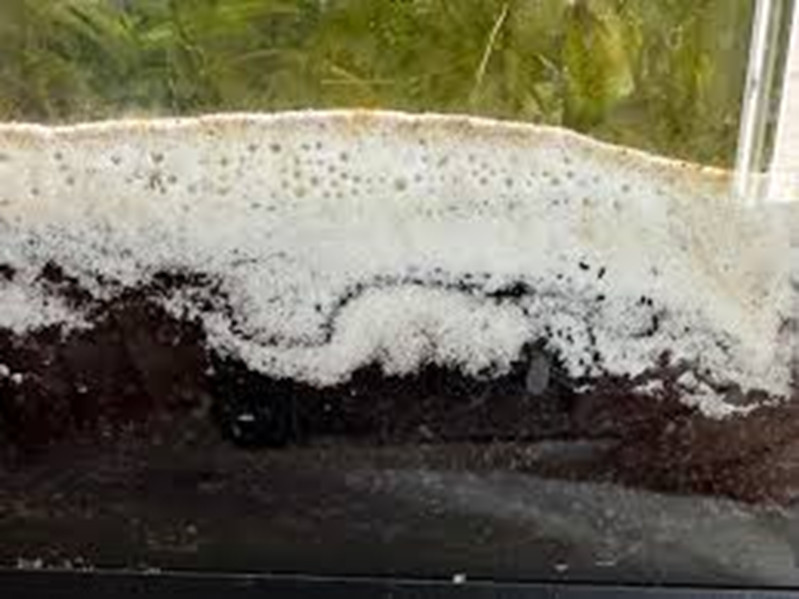
Ensure anaerobic pocket prevention by adding specific fish or aquatic species that churn substrate, maintaining a shallow substrate with a steady water flow.
Meanwhile, you can release and flatten anaerobic pockets by using your vacuum or siphoning tool to release trapped grass and air bubbles.
You can also stir the substrate until all pockets disintegrate into a flat surface.
Cleaning Planted Tanks
For planted tank cleaning, hover your vacuum above the substrate to reach spare roots without displacing your plants.
Tip Six – Filter Overhaul (Without Killing Bacteria)
Aquarium filter cleaning is a primary means of removing harmful pollutants in your tank, but if you’re not careful, you’ll also kill bacteria contributing to your fish’s life.
So, use these filter overhaul tips to keep your tank pristine and preserve beneficial bacteria. Switch off the filter machine before cleaning to avoid running the motor and ensure you get all its angles.
Now, let’s start with sponge filter care.
Sponge Filter Treatment
Remove your sponge filter and rinse the medium in your tank water. Clean its intake and return lines with a soft brush or a clean microfiber cloth.
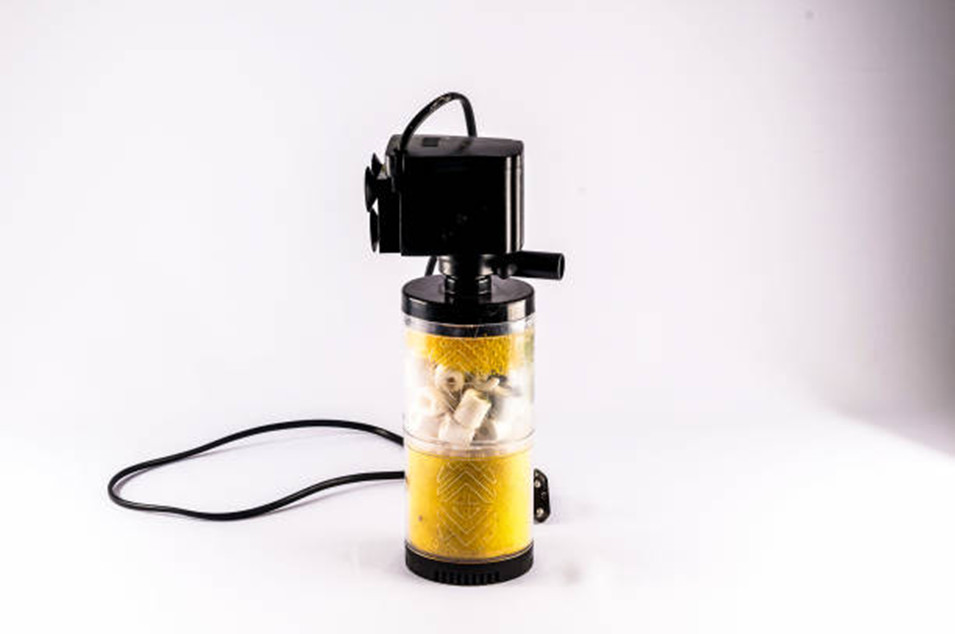
Canister Filter Treatment
For canister filter maintenance, remove your filter media and rinse it in the tank water, not under running tap water.
Separate and clean its individual parts like impellers, intake tubes, and the filter house.
Author’s Note: Check out our post The Best Canister Filters for Each Gallon Tank Capacity (2024) for a detailed guide on choosing the right filtration system!
Biofilter Treatment
Don’t replace the biofilters immediately to avoid killing the beneficial bacteria living in the media. Instead, stagger media replacements 2-4 weeks apart to protect the biofilter.
After cleaning your filter, reassemble its parts and reinstall it on your tank.
Tip Seven – Algae Removal & Prevention Plan
You need to come up with an algae prevention plan to control its growth in your tank, as too much of its disfugures your aquarium and harms your pets.
You can either manually remove aquarium algae, use algae-eaters, or use an automatic system.
Algae-Removal Protocols
Manual Removal
If you have a small or nano tank, you can use a scraper or razor to remove algae growth whenever it forms. Add about 1-3% hydrogen peroxide to the targeted area of the growth that proves stubborn.
It’s easy and simple.
Algae Eaters
For large and medium-sized tanks with community fish, add algae-eating species for controlled algae growth. Examples are Amano shrimps and Otocinclus catfish.
Author’s Note: Check out our post 20 Hair Algae Eaters for a SPOTLESS Aquarium!
Auto Removal System
If you have a species-only tank without algae eaters, don’t worry. Periodic water changes reduce algae growth in your tank and ensure the water stays pristine.
Prevention Plan
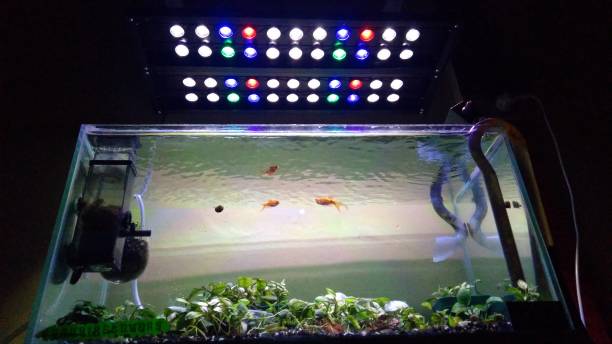
Light Control
You can use an aquarium light schedule to control its algae growth.
Algae need light for photosynthesis, so a photoperiod adjustment of 8 – 10 hours keeps their growth in check.
Reassess the set photoperiod and spectrum every season to ensure its efficiency and switch to a blackout for stubborn algae blooms until you get rid of them.
Nutrient Management
When you control your fish’s intake, you ultimately reduce their waste and decay, which leads to less algae growth.
Tip Eight – Glass, Hardscape & Décor Detailing
After cleaning your tanks, aquascape, and maintaining optimal water quality in the spring, your next step is the hardscaping, including the glass and decor. Avoid household chemicals because of your fish’s sensitivity. Instead, use aquarium-safe tools only.
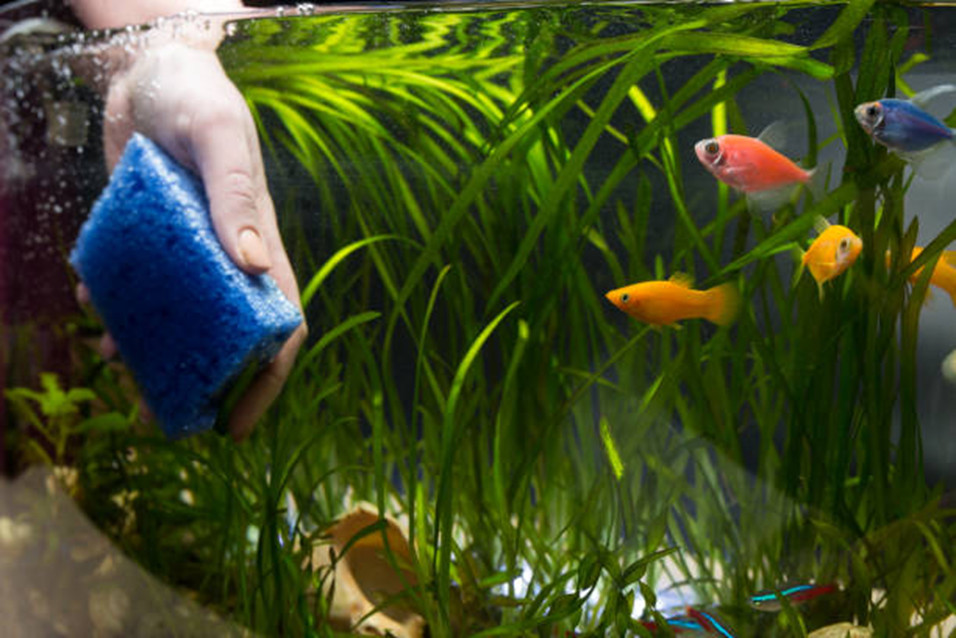
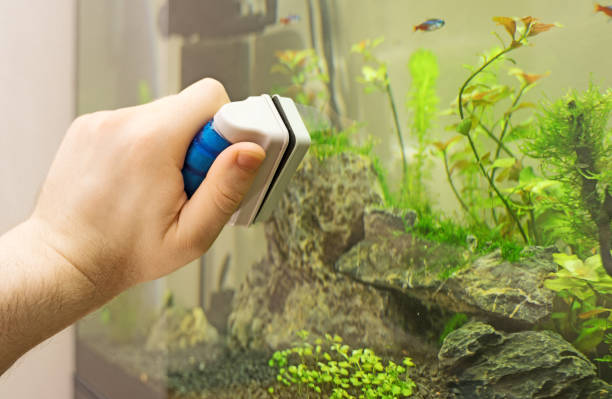
Glass Cleaning
For aquarium glass cleaning, you need safe tools for scraping the interior without cracking the materials and removing dirt from the exterior surface.
Use a microfiber cloth for the exterior to leave it shining and streak-free.
Hardscape Maintenance
Remove biofilm and algae using a strong filter and following the removal protocols listed above.
Décor Detailing
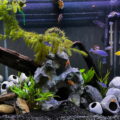
Use specialized rock scrubbing aquarium tools to remove algae without displacing your aquarium decor.
For driftwood maintenance, gently dust the surface with a soft brush and use an aquarium-safe adhesive to secure rocks. Sanitize decor before replacing it, and this includes airstones.
Replace clogged airstones for better oxygen distribution.
Before airstone replacement, turn off the machine and remove the tubing from the airstone. Pre-soak your new airstone, then attach it to the tank’s tubing before turning on the machines again.
Tip Nine – Trim Plants & Replant for Growth Burst
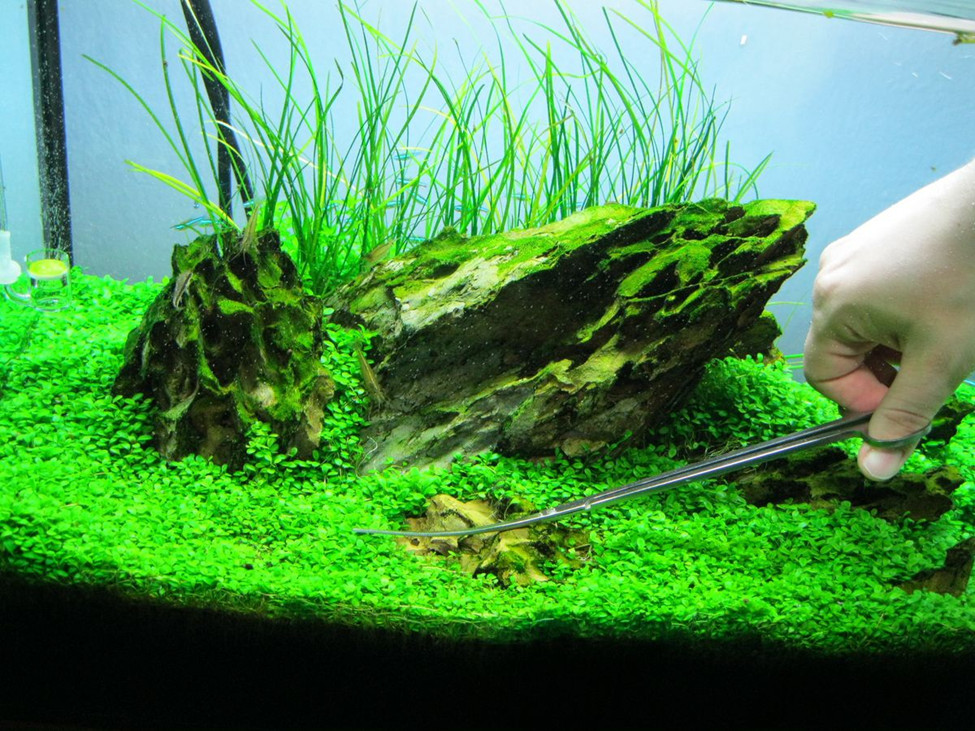
Managing growth in planted tanks is similar to gardening, especially when following normal seasonal cycles. A spring aquascape trim prepares live plants for a new growth cycle.
If you have a healthy soil substrate, replanting aquarium stems after pruning boosts growth. But don’t stop there. Add root tabs and refresh plant nutrients in the substrate for lush spring growth.
You must also vacuum loose clippings to keep the substrate clean and thin runners to maintain a beautiful aesthetic.
Tip Ten – Final Polish: Flow, Skimmer, & Aeration
As we close this guide on maintaining a crystal clear aquarium for the Spring season, let’s add some final polish to your care routine.
Flow Optimization
Install powerheads and wavemakers to help with aquarium flow optimization. Rebalancing water flow to cover dead spots ensures better detritus removal, even nutrient distribution, and overall fish health.
Skimmer Cleaning
For saltwater tanks, you’d need a protein skimmer device to remove dissolved organic waste. Maintaining this device in marine water requires expertise and dedication.
Split your protein skimmer cleaning process into two.
| Light clean (2-3 days) | Empty collection cup Rinse the collection cup Wipe device |
| Deep clean (1 – 3 months) | Disassemble the protein skimmer Scrub individual parts Rinse parts before assembling them |
Gas Exchange (Surface Agitation)
Finally, periodic surface agitation by creating ripples and waves maximizes gas exchange and gives the tank a sparkling look.
Conclusion
Preparing for the year with a spring aquarium cleaning schedule is not a suggestion but a necessity for your aquatic pets to enjoy a thriving environment all year round.
This seasonal aquarium reset prevents problems before they occur and manages them before they become significant issues. Even if you’re a beginner aquarist, the schedule is easy to follow with dedication.
Use the fish tank spring checklist in this guide to prepare for the spring aquarium reset and follow through from the basic steps in Tip One to the final polish in Tip Ten.
 What Do Freshwater Aquarium Snails Eat? (+Tips)
 17 Floating Aquarium Plants for Beginner Freshwater Aquarists
 9 Best Aquarium Fertilizers for THRIVING Aquatic Plants
 5 Best UV sterilizers to CLEAR an aquarium (2024)
 What Fish Tank Mates Will Get Along With a Betta?
 How to get rid of green aquarium water (algae bloom)?
 How to Permanently Get Rid of Black Algae in an Aquarium?
 Best Rocks for Elegant & Risk-Free Decor in a Cichlid Tank
 What Causes High Nitrate in a Freshwater Aquarium?
 6 Best Small Aquarium Heaters (Under 6.5″) for Nano Tanks
2 thoughts on “10 Spring Aquarium Cleaning Tips for a Fresh Start”